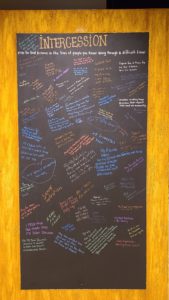
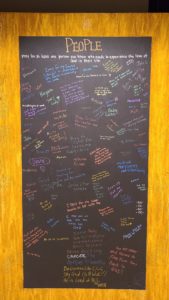
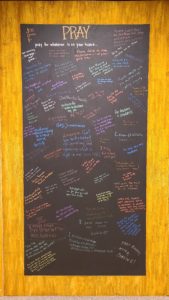
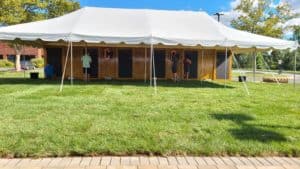
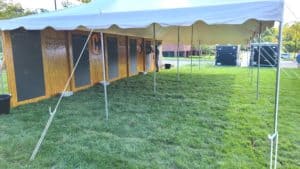
In the midst of COVID-19 when our church was not meeting in-person we planned an outdoor baptism and prayer celebration that was held on our church grounds. As part of the celebration, we created a Prayer Wall that was used for attenders to write prayers on at the event. When we were researching prayer wall ideas to build ours, we didn't find a whole lot. For that reason, I'm including ours here in case you find yourself in the same boat.
I have affiliate links in this post, but you're welcome to search for similar items without using my links.
Our Prayer Wall
We built the wall in a way that it could be set up outside for that celebration and taken apart and moved inside into smaller sections. We did this because we knew we were going to use it at the gathering, but we also knew we wanted to have it set up inside and available throughout the 21 Days of Prayer that kicked off with that celebration. We allowed attenders to come twice/week to pray and write prayers on the wall as they had done during the opening celebration.
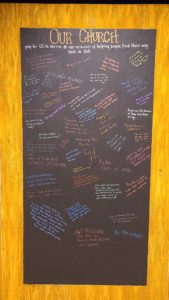
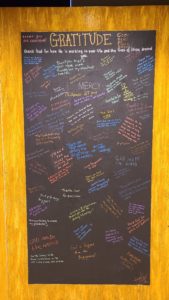
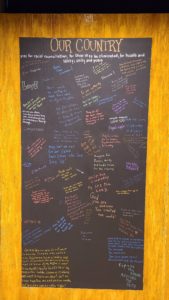
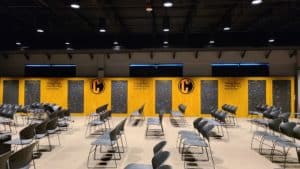
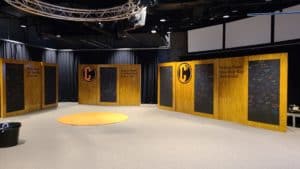
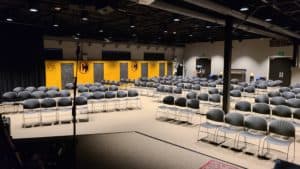
After the 21 Days of Prayer, we relocated the prayer wall again, this time to the side of our auditorium. Here, I'll include a bunch of pictures as well as a description of how the prayer wall was made. Basically, they are wood panels with flat black latex paint in the middle for where people would write with bright markers.
We used markers like these Sharpie Metallic Permanent markers (affiliate link).
Prayer Wall Creation
These are instructions from John, one of our elders, who lead the project and knows how to do everything listed here (since I certainly don't).
- The panels were built with 2 x 3 studs, then covered with ½” plywood (the fewest knots possible, but it was still standard plywood, not A/C or anything expensive). Screw everything, do not nail.
- We built the panels with the sticker logos 48” wide (they lapped over the others in the back), and the black-centered panels at 44” wide. The panels were staggered (see the attached pic), with the black-centered panels in front. That is why those were narrower- so that when completed all the panels had 44” showing.
- Use wood putty to fill all the screw holes before painting.
- Tape off outside the black sections and roll the flat black. The black sections were just black flat latex- so folks could write with a colored sharpie and it would be permanent. Not blackboard paint.
- The base color was a beige latex flat paint- except for the black sections. We taped off the black sections after they were completely dried. If using a darker stain, use a darker base color. If using a lighter stain, use a lighter base color.
- Then the wood grain was painted over the beige- using a water-based stain. Leave the black taped off until the woodgrain is complete. We used a medium stain.
- While the stain was wet, we added the faux woodgrain using the tools here (affiliate link).
- Takes a while to learn the technique- watch some youtube videos, there are lots of them. That Is helpful
- We added the faux wood grain on the edges of the black panels as well, since those were staggered in front and would show when assembled.
- After completely dry, paint one coat of water-based polyurethane to give it a good shine- only on the faux woodgrain. NOT the black.
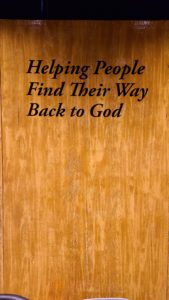
- Add any writing or logos- we added logos on the solid panels that were staggered behind the black panels.
Prayer Wall Pictures


